Why DIY Tinybox?
Ultimate Value
~¥48,000 for 144GB VRAM (saved ¥4,000+ with owned hardware)
Fully Open Source
From ROCm to tinygrad, embrace the open-source ecosystem
Future Ready
Potential upgrade path to UALink interconnect standard
This guide replicates the core philosophy of George Hotz (geohot)'s Tinybox Red, incorporating community best practices and comprehensive open-source optimization. Whether you're an AI researcher, deep learning engineer, or hardcore DIY enthusiast, this guide will help you build your own AI powerhouse.
Hardware Selection & BOM
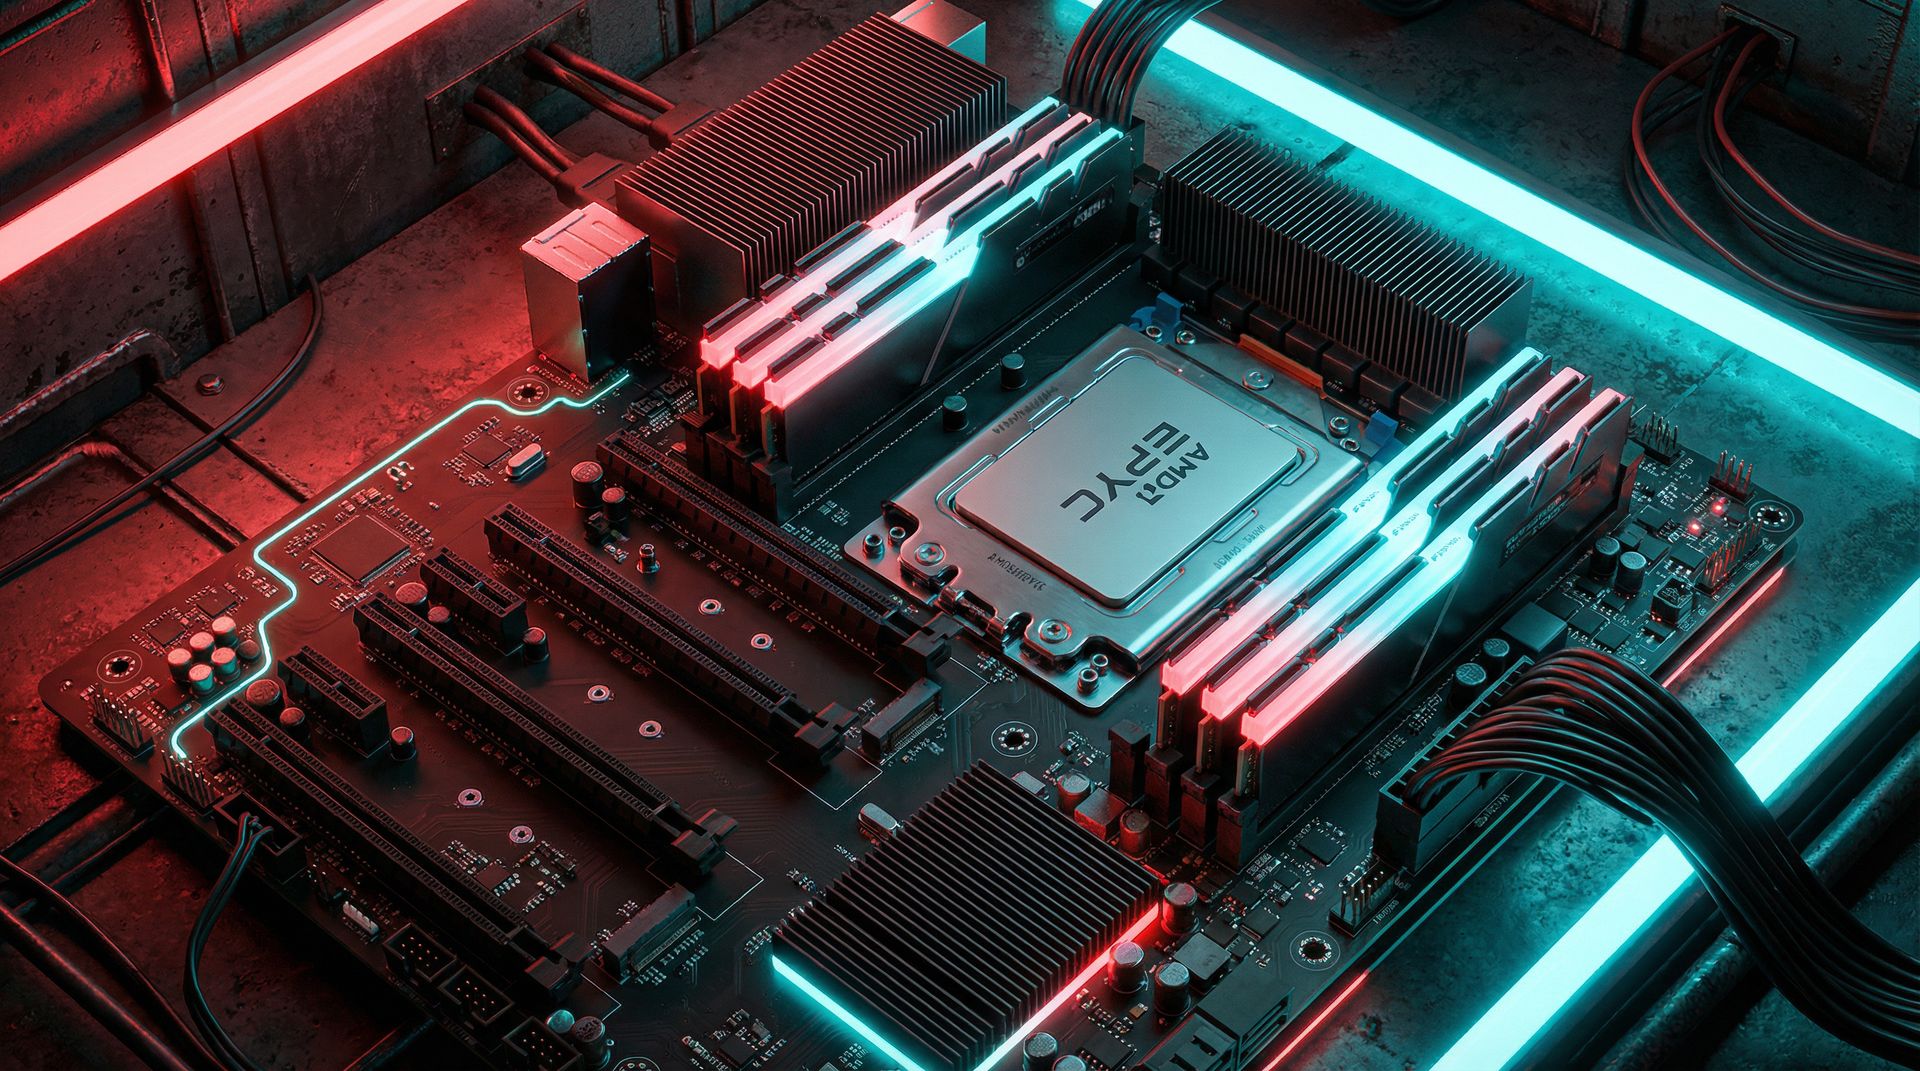
We recommend the EPYC server platform for unmatched stability and PCIe bandwidth. Below is the complete BOM list.
| Component | Model | Qty | Subtotal (¥) | Status |
|---|---|---|---|---|
| Mobo+CPU Bundle | ROMED8-2T + EPYC 7532 | 1 | ¥4,599 | Purchased |
| Memory | Samsung + SK Hynix DDR4 ECC | 192GB | ¥6,000 | Owned |
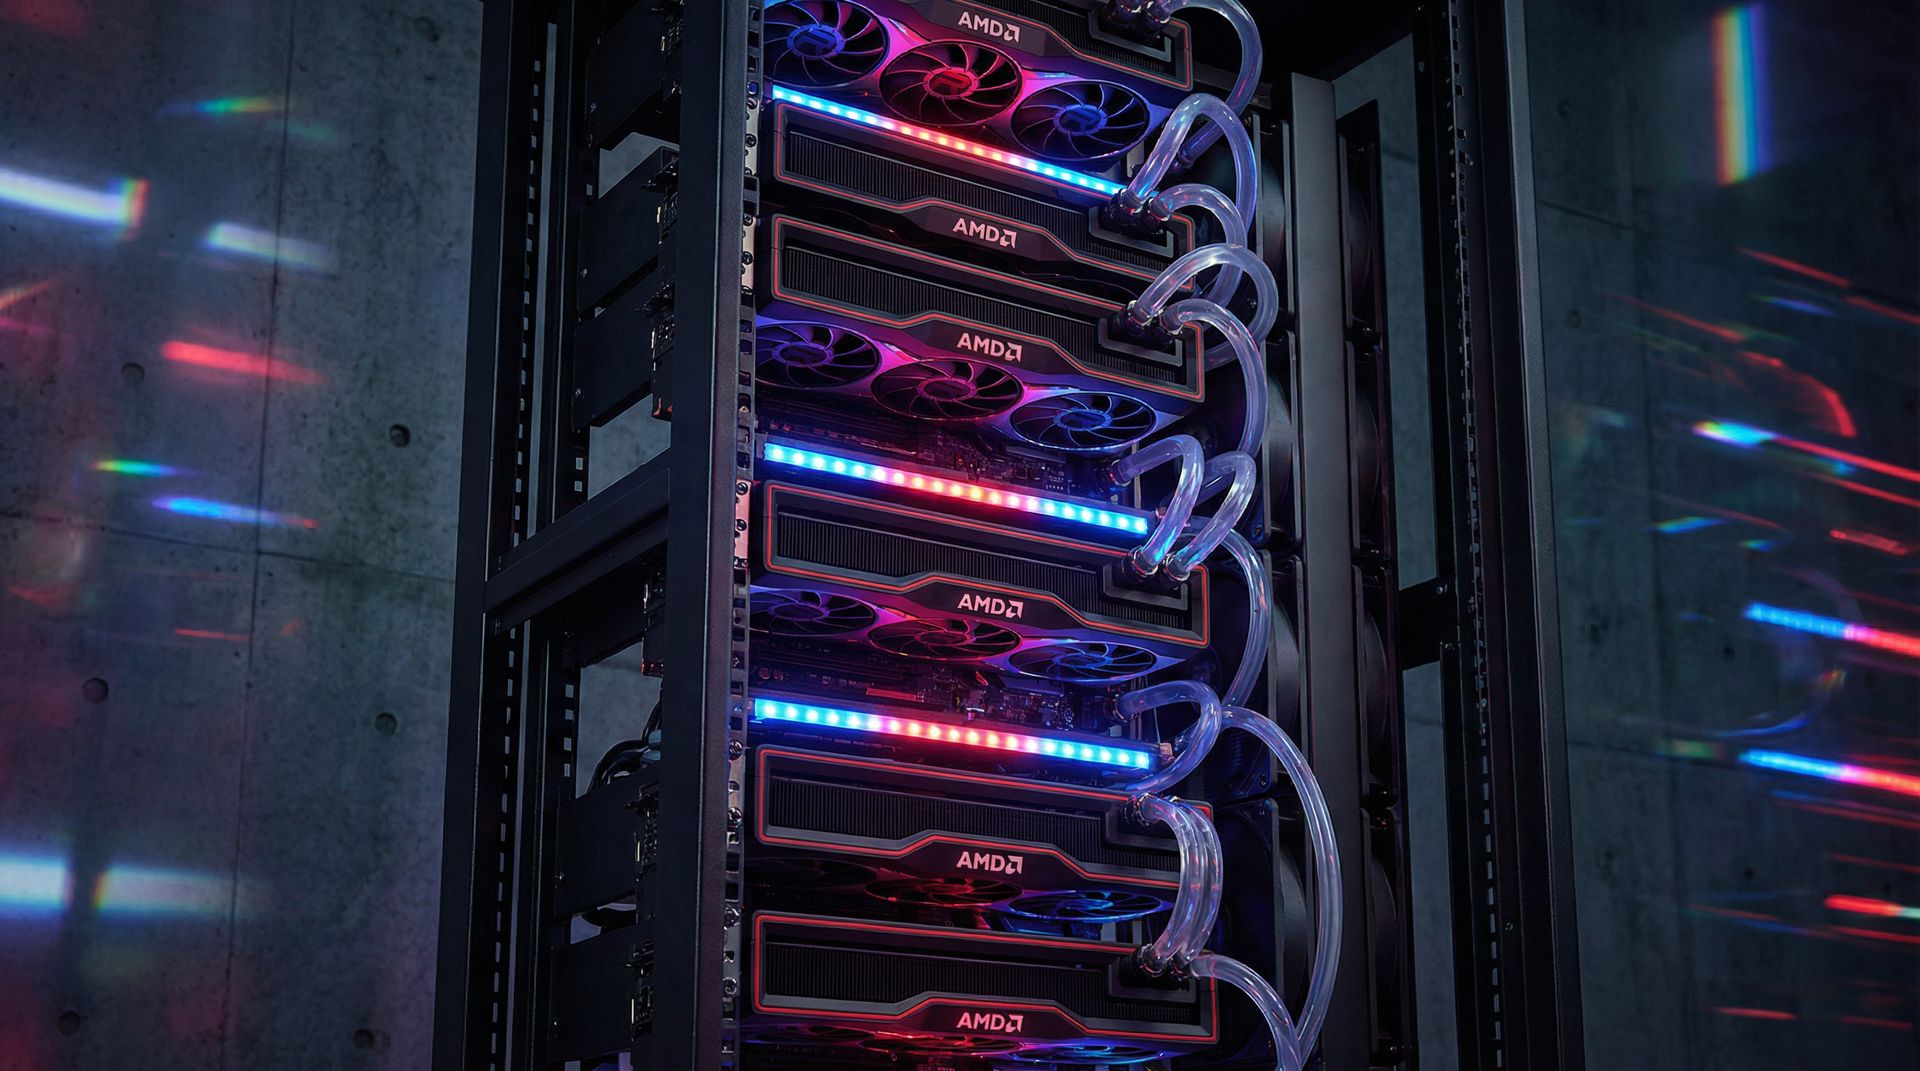
| GPUs (6x) | XFX 7900XTX Overseas Pro | 6 | ¥25,144 | Purchased |
| ├ GPU 1 | XFX 7900XTX Overseas Pro | 1 | ¥4,088 | Purchased |
| ├ GPU 2 | XFX 7900XTX Overseas Pro (99% new) | 1 | ¥4,270 | Purchased |
| ├ GPU 3 | XFX 7900XTX Overseas Pro | 1 | ¥4,150 | Purchased |
| ├ GPU 4 | XFX 7900XTX Overseas Pro | 1 | ¥4,287 | Purchased |
| ├ GPU 5 | XFX 7900XTX Overseas Pro (Boxed) | 1 | ¥4,129 | Purchased |
| └ GPU 6 | XFX 7900XTX Overseas Pro | 1 | ¥4,220 | Purchased |
| Power System | Dual PSU (2000W + 850W) | 1 | ¥1,860 | Purchased |
| ├ PSU 1 (Main) | 2000W PSU | 1 | ¥1,600 | Owned |
| ├ PSU 2 (Secondary) | Cougar GEX850W Gold | 1 | ¥240 | Purchased |
| └ Sync Cable | 24-pin Dual PSU Adapter | 1 | ¥20 | Purchased |
| Storage | 1TB SSD + 500GB Backup | 1 | ¥2,000 | Owned |
| Case + Cooling | Open Bench + 2U Cooler | 1 | ¥50 | To Buy |
| Water Cooling Mod | DIY 3D Print Design | 1 | ¥5,000 | Optional |
| ├ 3D Printed Parts | Water blocks/brackets custom | 1 | ¥1,500 | Pending |
| ├ Radiators 480mm | Dual 480 Radiators | 2 | ¥600 | To Buy |
| ├ Radiator Fans | 120mm Fans | 8 | ¥400 | To Buy |
| ├ Pumps | D5 Pumps | 2 | ¥500 | To Buy |
| ├ Reservoir | Pump-Reservoir Combo | 1 | ¥200 | To Buy |
| ├ Tubing | Soft tubes + Fittings | 1 | ¥400 | To Buy |
| ├ Coolant | DIY Coolant | 1 | ¥60 | To Buy |
| ├ Drain Valve | Drain Valve | 1 | ¥30 | To Buy |
| ├ Nippers | Jiuyang 629 | 1 | ¥47 | Purchased |
| └ Misc | O-rings/Screws etc | 1 | ¥263 | To Buy |
| Total Cost | ¥44,653 | excl. water cooling | ||
✅ Your Existing Hardware
Memory
192GB DDR4 ECC
4×32GB Samsung + 4×16GB SK Hynix
System Disk
Intel DC S3520 480GB
Enterprise SATA SSD
Backup Storage
Toshiba 500GB + Portable HDD
For model backup/cold storage
💾 Storage Advice
Your existing Intel 480GB SSD is sufficient for Ubuntu + tinygrad. If running 70B models later, consider adding a 1TB NVMe SSD (~¥400).
🌀 Cooling Tips
Open bench frames offer the best airflow. Ensure spacing between GPUs and add extra case fans - critical for the 7900XTX.
Assembly & Configuration Guide
01 Physical Assembly
Platform Setup: Install EPYC CPU and 8 RAM sticks on ROMED8-2T. Test POST with 1 GPU direct to mobo.
Rack Mounting: Secure motherboard to bottom of open bench. Mount 6 GPUs on top bar.
Risers: Connect 6 PCIe extension cables from mobo x16 slots to GPUs.
02 Dual PSU Wiring (2000W + 850W)
Use 2000W Main + 850W Secondary. Must use sync cable for simultaneous startup.
Sync cable has 3 heads:
- Head A 24pin Male (more wires) → Plug into Motherboard
- Head B 24pin Female (more wires) → Connect to PSU 1 (2000W)
- Head C 24pin Female (fewer wires) → Connect to PSU 2 (850W)
⚡ PSU 1 (2000W) handles:
- 24pin motherboard power (via sync cable)
- 8pin + 4pin CPU power
- GPU 1, 2, 3, 4 power cables
- HDDs, fans, etc.
⚡ PSU 2 (850W) handles:
- 24pin to sync cable (NOT directly to mobo!)
- GPU 5, 6 power cables
- Optional: 6pin to mobo GFX_12V1
Boot Test:
- Plug in both PSUs, turn both switches ON
- Press motherboard power button
- Both PSUs should start simultaneously (fans spin together)
- If PSU 2 doesn't start → Check sync cable connection
⚠️ Safety Warning: Both PSUs must be plugged into the SAME well-grounded power strip to share ground and prevent voltage differential damage!
03 BIOS Configuration
| Setting | Recommended | Purpose |
|---|---|---|
| Above 4G Decoding | Enabled | Enable >4GB BAR addressing |
| Resizable BAR | Enabled | Allow CPU to access all VRAM at once |
| IOMMU | Enabled | Better P2P communication |
Software Setup - Choose One
Option A: Pure Tinygrad
Bypass the full ROCm stack, use tinygrad's userspace driver directly. Lighter and more stable.
1. Configure Kernel Parameters
Edit /etc/default/grub then run sudo update-grub and reboot
2. Install Tinygrad
3. Verify Installation
Option B: Full ROCm Stack
Better compatibility for PyTorch, TensorFlow, and other mainstream frameworks.
1. Configure Kernel Parameters
Same as Option A
2. Install ROCm
If you can see info for all 6 cards, installation was successful.
Ultimate Open-Source Optimization
🔧 Power & Thermal Optimization (LACT)
LACT is the most comprehensive GUI tool for managing GPU power limits and fan curves across all cards.
- Set power limit to 280W-300W per card
- Set aggressive fan curve, keep temps under 85°C under load
⚙️ Performance Environment Variables
Add these environment variables to your ~/.bashrc file:
⚡ FlashAttention
If using PyTorch, compile and install the ROCm version of FlashAttention from source to dramatically improve Transformer performance.
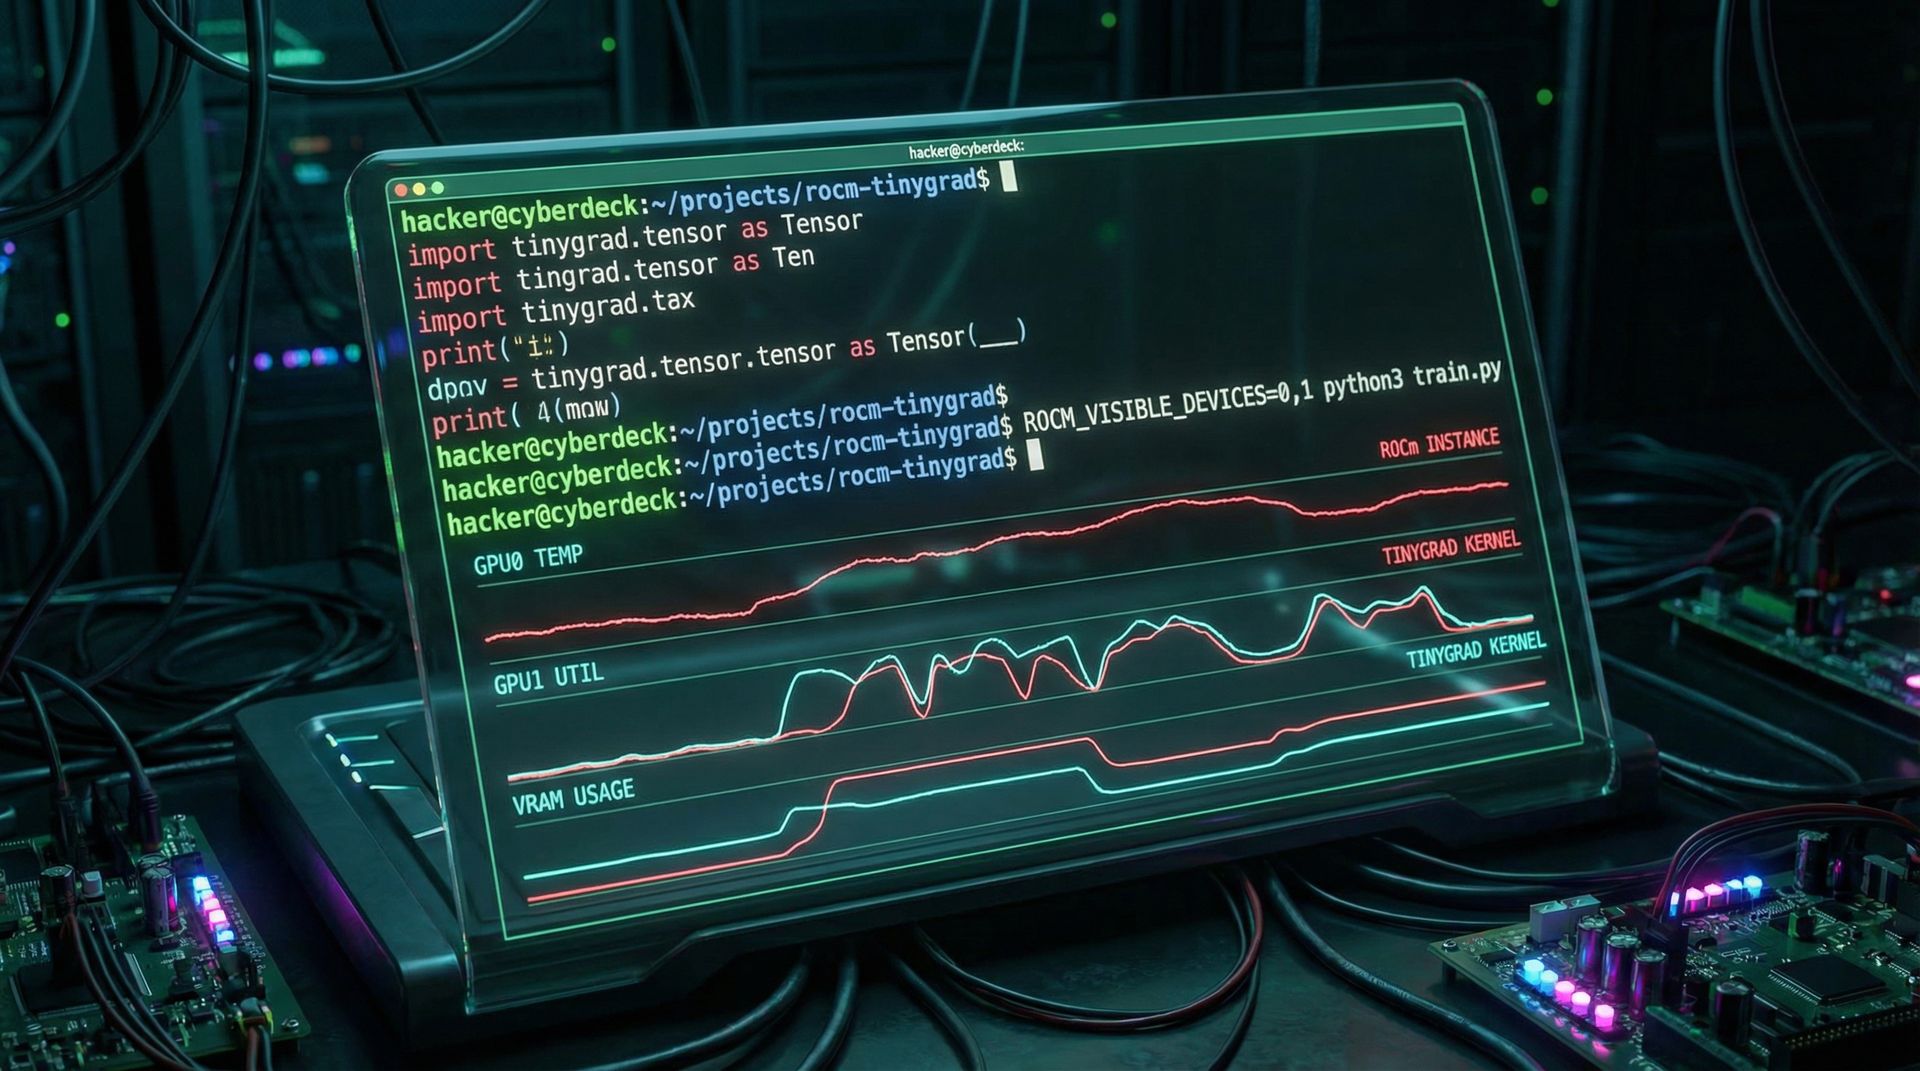
📊 Real-time Monitoring
During training, use amdgpu_top to monitor all GPUs in real-time including temperature, power, and VRAM usage.
Common Issues & Solutions
PCIe AER Error
Cause: Poor signal quality from PCIe 4.0 riser cables
- Replace with higher quality risers (Linkup, ADT-Link)
- Downgrade PCIe to Gen3 in BIOS
- Add pci=noaer parameter to GRUB
P2P Mapping Failure
Cause: IOMMU misconfiguration
- Ensure IOMMU is enabled in BIOS
- Check kernel parameters: amd_iommu=on iommu=pt
- Use rocm-bandwidth-test tool to diagnose
Power Shutdown Under Load
Cause: Instantaneous peak power exceeds capacity
- Use LACT to limit each card to 280W
- Check home circuit capacity (need 16A outlet)
- Ensure dual PSU is configured correctly